Your cart is currently empty!

March 13, 2025
Lace front wigs have revolutionized the way people experiment with their hairstyles. If you’re new to the wig game, learning how to use lace front wigs can feel overwhelming at first. This tutorial is designed specifically for wig beginners, guiding you through everything from selection to styling. We’ll also touch a bit on such T part wigs, glueless lace front wigs, synthetic wigs, and human hair wigs options to help you choose the perfect look for your needs.
Understanding Lace Front Wigs
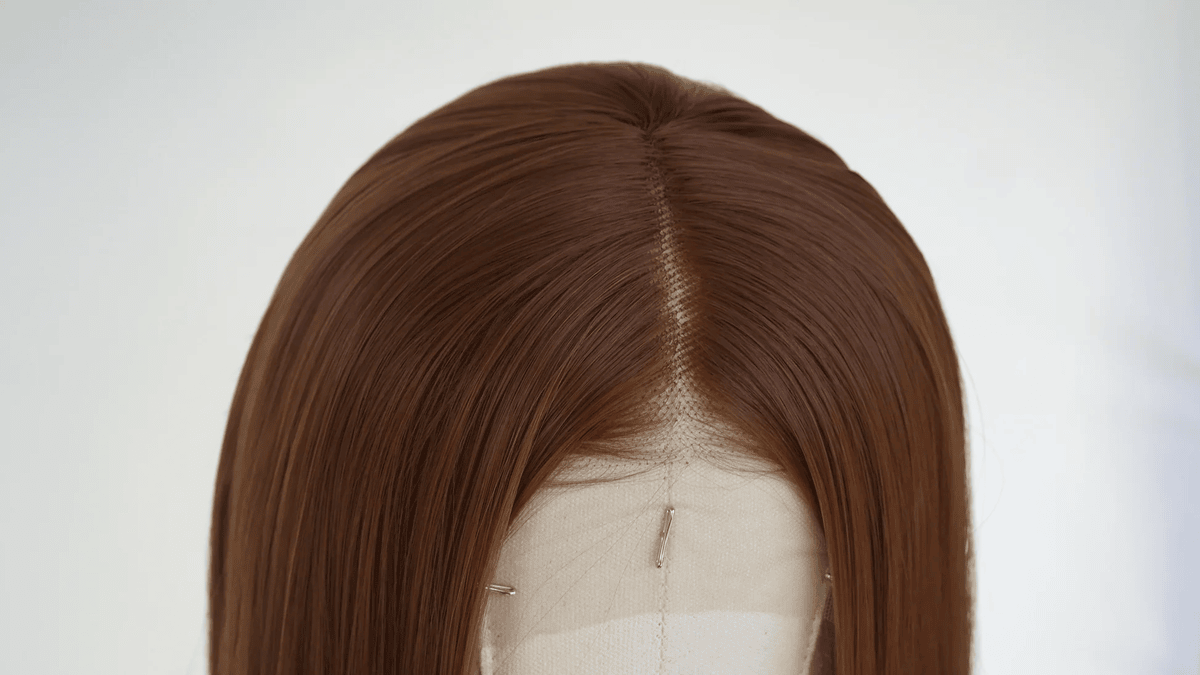
Lace front wigs feature a sheer lace panel along the front hairline, which creates the illusion of a natural hairline. This design makes them one of the most popular choices for those seeking a realistic look without the hassle of daily styling. They come in both Synthetic Wigs and Human Hair options, each offering unique benefits. Synthetic Wigs are often more affordable and pre-styled, while human hair wigs allow for greater versatility in heat styling and color changes.
Preparing to Wear Your Wig
Before you put on your lace front wig, it’s important to prepare your natural hair:
- Clean and Dry: Ensure your hair is clean and completely dry.
- Wear a Wig Cap: Use a wig cap to secure your natural hair and provide a smooth surface for the wig.
- Positioning: Decide on your natural part and adjust your wig accordingly. If you have a T part wig lace front wigs glueless option, this design can create a natural, defined part without the need for adhesives.
How to Use Lace Front Wigs

1. Support Your Hair Network
Before you even think about putting on your T part wigs or glueless lace front wigs, it’s crucial to create a strong base foundation. This means preparing your natural hair and scalp to make sure they sits perfectly along your natural hairline is key. Start by gathering your essential tools, including a high-quality wig cap, adjustable wig grip bands, and any additional support clips. The wig cap acts as the base, keeping your natural hair neatly contained and providing a smooth surface. The grip bands and clips further secure this base, ensuring that your wig won’t shift during wear. This initial step is the backbone of your installation process and guarantees a stable foundation for a natural look.
2. Wear a Hair Net
Once your wig cap is in place, enhance the support network by wearing a hair net over it. The hair net smooths out any stray hairs and eliminates bumps, creating an even and clean surface. This step is especially important if you have textured or voluminous hair, as it helps maintain the integrity of the wig cap and provides a seamless finish. A well-fitted hair net ensures that the lace front of your wig will blend naturally with your scalp.
3. Arrange Your Hair
With your support network and hair net secure, the next step is to arrange your natural hair. Gently comb your hair to ensure it’s flat and evenly distributed under the wig cap. Use a soft, wide-tooth comb to avoid any unnecessary tugging or breakage. Smooth out any protruding strands and make sure that your hairline is neatly tucked away. This preparation allows your lace front wig to sit flush against your head, making the final look appear effortless and realistic.
4. Wear Your Lace Front Wig
Now it’s time for the moment of truth—wearing your wig! Carefully position your lace front wig onto your head, ensuring that the lace aligns perfectly with your natural hairline. For beginners, opting for a glueless option can simplify this process. Glueless lace front wigs typically feature adjustable straps or clips that secure the wig in place without the need for adhesives. Adjust the wig until it feels comfortable and looks natural. This step is all about achieving the perfect fit, so take your time to make sure everything is aligned correctly.
5. Use a Comb to Style
After your wig is securely in place, use a comb or wig brush to style your hair. Start from the ends and gently work your way up, taking care not to tug too hard on the lace. This not only helps to blend the wig with your natural hairline but also removes any tangles or excess product. Whether your wig is made of synthetic fibers or human hair, a light combing will enhance its natural movement and give you a polished look.
6. Wear Completely and Final Adjustments
The final step is to wear your wig completely. Secure any remaining straps or clips and perform a final check to ensure the wig sits comfortably and naturally on your head. Look in the mirror and make any necessary adjustments—trim any excess lace if needed, or apply a bit of concealer along the hairline to enhance the natural appearance. With everything in place, your wig is now ready to wear for any occasion.
- For Synthetic Wigs: Many Synthetic Wigs come pre-styled, but you can use wig-safe styling products if needed. Avoid using heat tools unless the wig is labeled heat-resistant.
- For Human Hair Wigs: These offer greater flexibility. You can style them with heat tools, dye them, or even cut them to create a custom look. Remember to use heat protectants to preserve the wig’s quality.


